 design")

Yesterday was Diwali (Deepavali), the festival of lights. It’s a holiday that symbolizes the victory of light over darkness, knowledge over ignorance, hope over despair. One of my favorite Diwali activities is to make a Kolam (or Rangoli) design with dyed rice.

Kolam designs can be made with dyed rice (as I do), flower petals, or colored sand (similar to mandalas). They seem complex, but are really a simple and fun craft to make, and would be a good craft for kids as well (with a simpler pattern such as a flower). This tutorial will teach you how to make your own!
Supplies:
- Plain Rice
You can buy this basically anywhere–if you’re lucky to have a WinCo nearby, go to their bulk section. It’s around 61 cents per lb. - Food Coloring
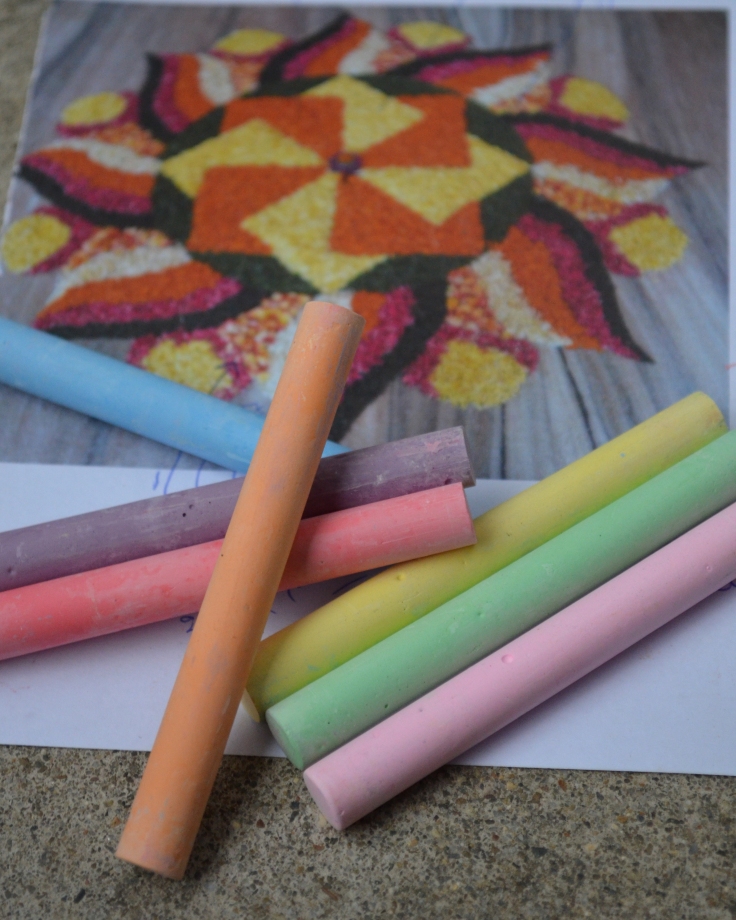
I use the Gel kind you can get for cheap in the baking section - Color Chalk
- A copy of your design (printed or on your phone)
- Gloves (or plastic bags) to mix the rice
- A piece of paper (or two)
- Tea lights & matches
The first thing you need to do is find a Kolam or Rangoli pattern you like. I use Google Image Search and Pinterest. The term “Rangoli” will bring up many images, but so will Kolam.

Next, I assess the colors I actually have available in my dyes and make notes on my pattern about which colors I plan on using. You’ll need at least 1 cup of rice for every color, and 2-3 for large areas.
Mix your dye with your rice. If you are using Gel food coloring (like I do) be careful not to overdo it. If you do, the rice will become very sticky which makes it difficult to work with as it will stick to your hand and does not spread well. A little bit of stickiness is no worry, but if you add too much dye, simply add more rice and mix together. When mixing, use plastic gloves to protect your skin from the dye.

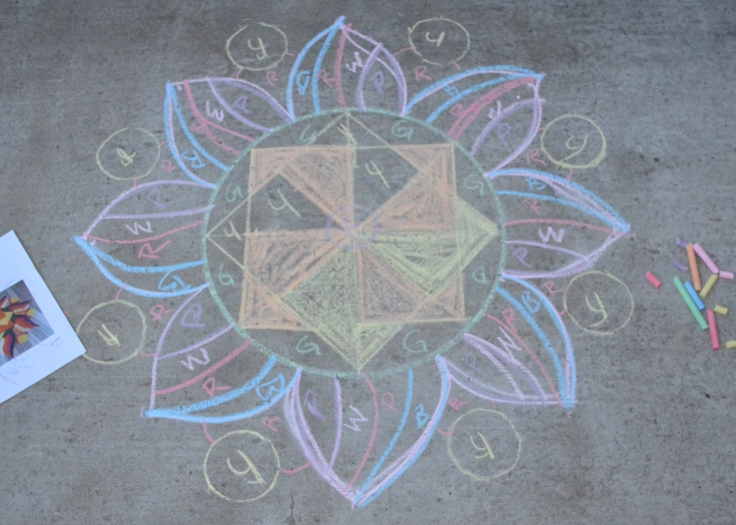
You don’t necessarily need colored chalk, but it makes it easier for me to distinguish sections of the pattern when I’m laying out the rice. Find a place for your pattern, such as an outside concrete patio.
Draw your pattern on the concrete using the chalk. I use household items such as big platters or the sides of a box for making round shapes or straight edges. The bigger your kolam / rangoli, the more detail you can add–however, the bigger patterns will use even more rice. This year mine was in the 3ft x 3ft range (91 cm x 91 cm), last year it was smaller at about 1.5ft x 1.5ft (46 cm x 46cm). It depends on preference, available space, and the design itself.

You can fill in your pattern with the colored chalk, or just with letters to designate which color goes where (Y = Yellow, etc.)

Usually after I get comfortable with my pattern, I’ll just fill it out with letter designations. Complete your drawing before adding rice.
Form a cone with a piece of paper. This acts as a funnel to deliver the rice more precisely within your pattern. Add rice to your paper cone away from your pattern.

Work from the interior to the exterior of the pattern. As you complete adding rice to each section, use your finger to correct or spread the rice.
If you run out of a rice color, simply mix more. Newly mixed rice may be a little sticky. Make a new paper cone if the old one becomes stained with the food coloring. If you had time to allow your rice to dry a bit between mixing, you likely won’t notice this.
Soon your pattern will start to take shape, at this point let your creative license take hold. I added a dot of blue rice to the center and a dot of red rice to each yellow dot. Additionally, I decided to add a green edge to make my final kolam round. The final look is up to you, enjoy yourself 🙂

When you’re done, add some tea lights and light them with a match! It is very pretty at night.
 Hope you found this tutorial helpful!
If the kolam or rangoli designs are not what you’re looking for, find a design pattern that suits your tastes instead. For example, Hungarian embroidery patterns and Mandala artwork is very beautiful and complex– these would make a lovely kolam.
I keep mine for about 3-5 days (until the day after Diwali celebrations end), and then I sweep it up.
Impermanence is a principle of harmony. When we don’t struggle against it, we are in harmony with reality.
– Pema Chodron


This is beautiful! I’ve seen intricate colored sand but never rice. I think I could manage the rice!
Thank you! Yes, sand and flowers are very common–but after seeing a few done with colored rice was all the inspiration I needed 🙂 it is a forgiving medium!
I’ve seen coloured sea salt also being used in rangolis!
Oh neat!