

The Problem
2:07-5:20
We started Mission Lakewood Church a year ago. As we’ve been dialing in our mix, we've heard complaints that the music is too loud and we discovered that the drums were overpowering everything.
At first, we tried some really simple things to lower the volume.
You can get really thin cymbals that aren't as loud as big, thick cymbals.
You can get thinner sticks for your drummer.
You can also tell your drummer to play lighter.
Our drummer, Luke, was playing as softly as he possibly could, but it was still too loud and he didn’t know what else to do. It was causing problems for him, it was causing problems for me and my sound guys, and we had a really difficult time figuring out, why are the drums overpowering the mix?
I made a multi-track recording of our worship set which meant that I could hear what was coming through every single mic. When I listened to that multi-track recording, I discovered there was a ton of mic bleed from the drum set into our vocal mics, and that was causing all the noise.
We had a 4 ft. drum shield, but that clearly it wasn’t enough. We had to get a new one.

The only problem was that a setup on Amazon costs $2,000-$3,000.

It looked like it’d cost our church a lot of money, but my pastor, Darvin, said…

He’s handy with building stuff and he cares about the level of production in our worship service which I really appreciate as a worship pastor.
Making the drum shield
Primary front shield
We opted for a 6ft. shield instead of a 4ft. shield. The price came out to $288.00 with $84.00 shipping so it totaled $400ish when everything was said and done. We figured it was worth the money to just buy the plexiglass instead of spending time cutting it and shaping it to our dimensions, but if you have access to plexiglass and want to save more money, go ahead and cut it.
Material
6ft., 5-panel plexiglass drum shield ($400ish)
Threaded rivets (couple bucks)

Securing the hinges to the shield
6:52–7:42
The plexiglass shield comes with plastic hinges. I'm not a fan of them because they slide off and it takes a while to set them up every Sunday.
To fix this, we went to a local hardware store and purchased some threaded rivets that secure those plastic hinges in place, so we don't have to worry about the hinges sliding off.

Securing the hinge to the plexiglass is simple.
Drill a pilot hole through the plastic hinge and the plexiglass
Insert the threaded rivet
Screw in the inside of the rivet
Panels are secured and we don’t have to worry about them sliding apart.
Pro-tip: We didn't rivet together all 5 panels together. We divided the 5 panels into a section of 2 and a section of 3. This way, when we show up on Sunday, all we have to do is connect both sections at a hinge in the center and move from there.

My buddy is holding the section of 2 panels.
Drum booth lid
The next thing we needed to construct was the top of the drum booth. This one came pretty cheap because Garvin had some extra plywood laying around.
Material
Plywood (free or a couple bucks)
Acoustic panels ($54)
Spray adhesive ($10)
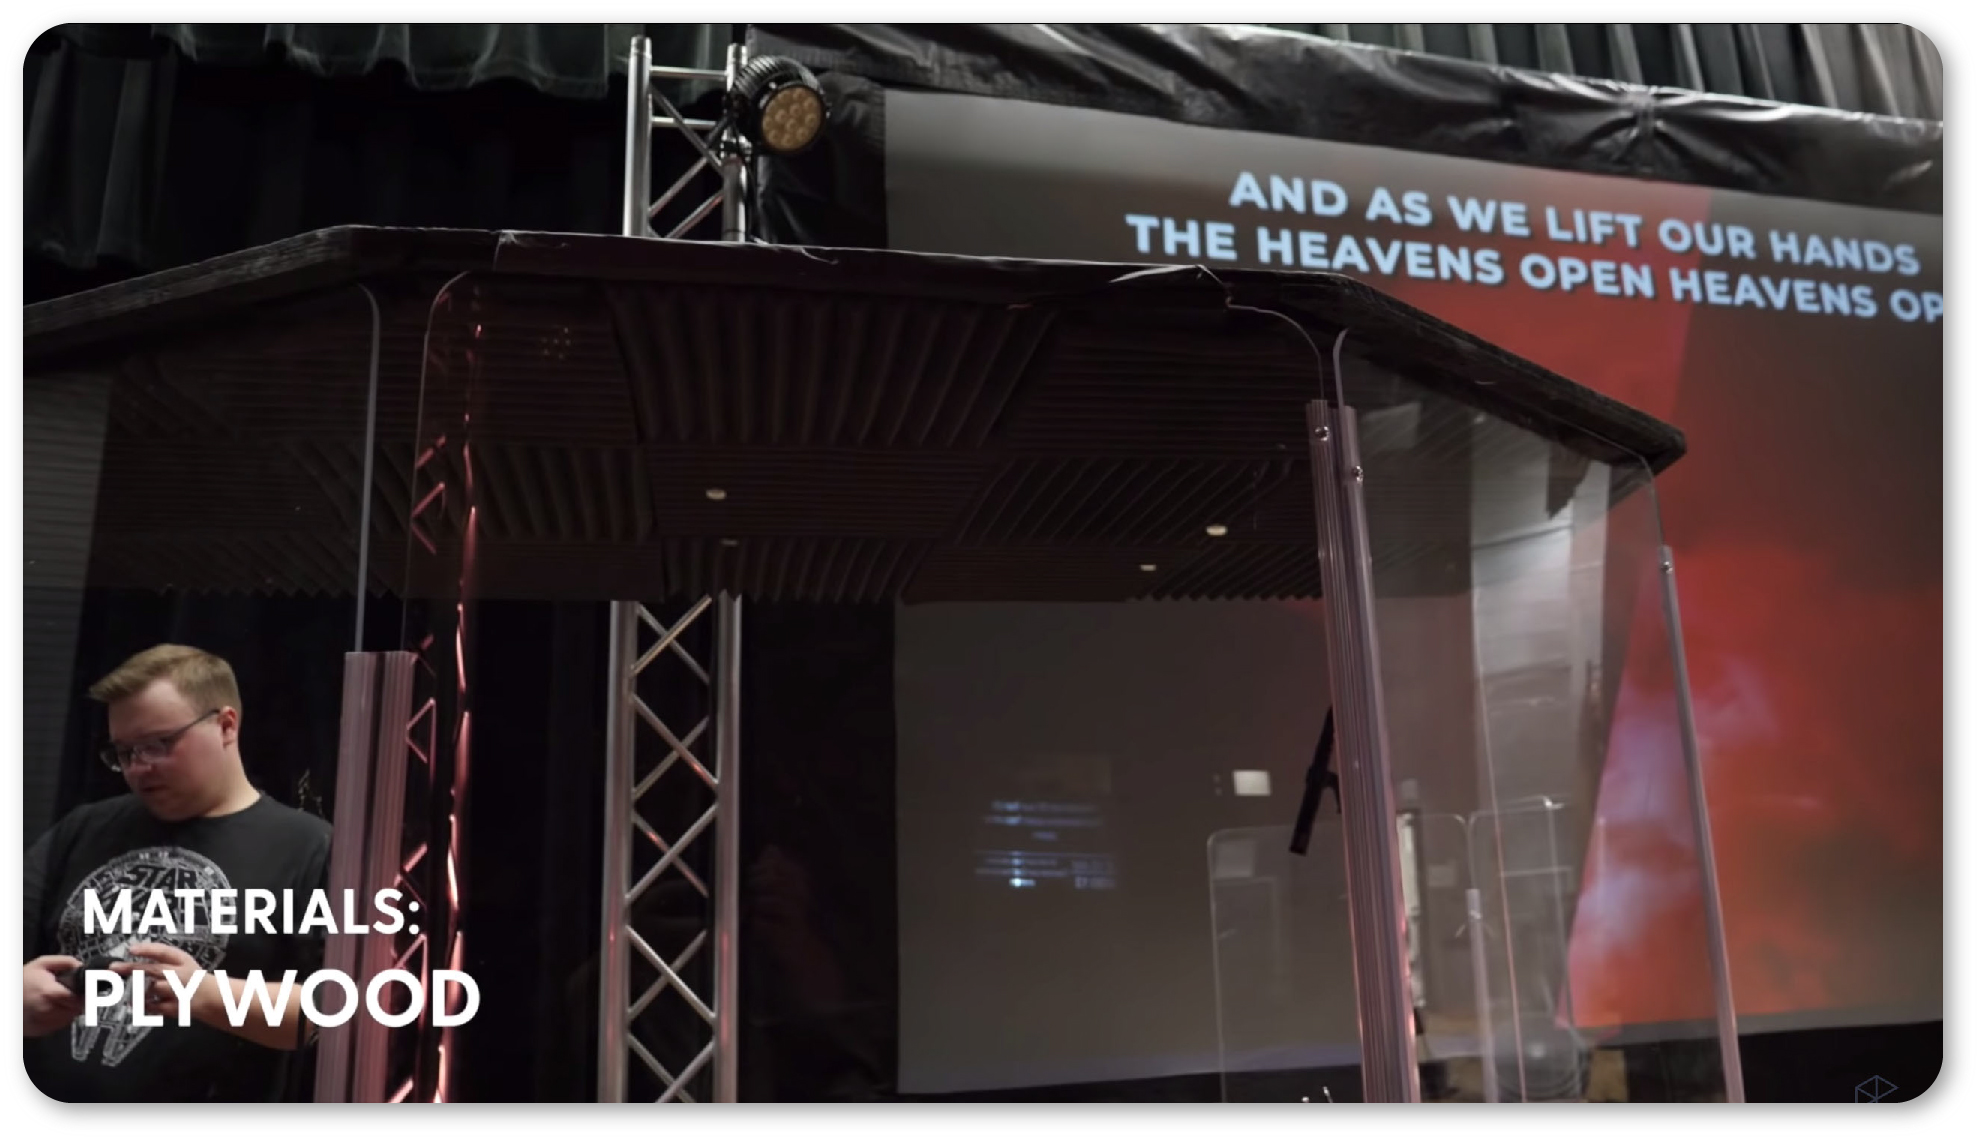
The top lid of the drum shield is probably the most complicated part of this construction process.
In order to get the right sized lid we did a few simple things
Put the uncut plywood on top of the drum shield
Traced along the edges of the plexiglass using a permanent marker onto the plywood.
Used a circular saw to go around the line we traced.
Pro-tip: Don’t make the lid flush with the plexiglass. Create a half-inch setback from where the plexiglass is going to touch the plywood to the front of the plywood so it doesn’t slide off.

Make sure the plexiglass extends a half-inch over
Creating a channel
To make it extra secure, Darvin created a channel around the front edge of the lid. He did so by cutting two pieces of half-inch plywood and screwing those onto the lid.

The red lines indicate the channel created by the two pieces of plywood.
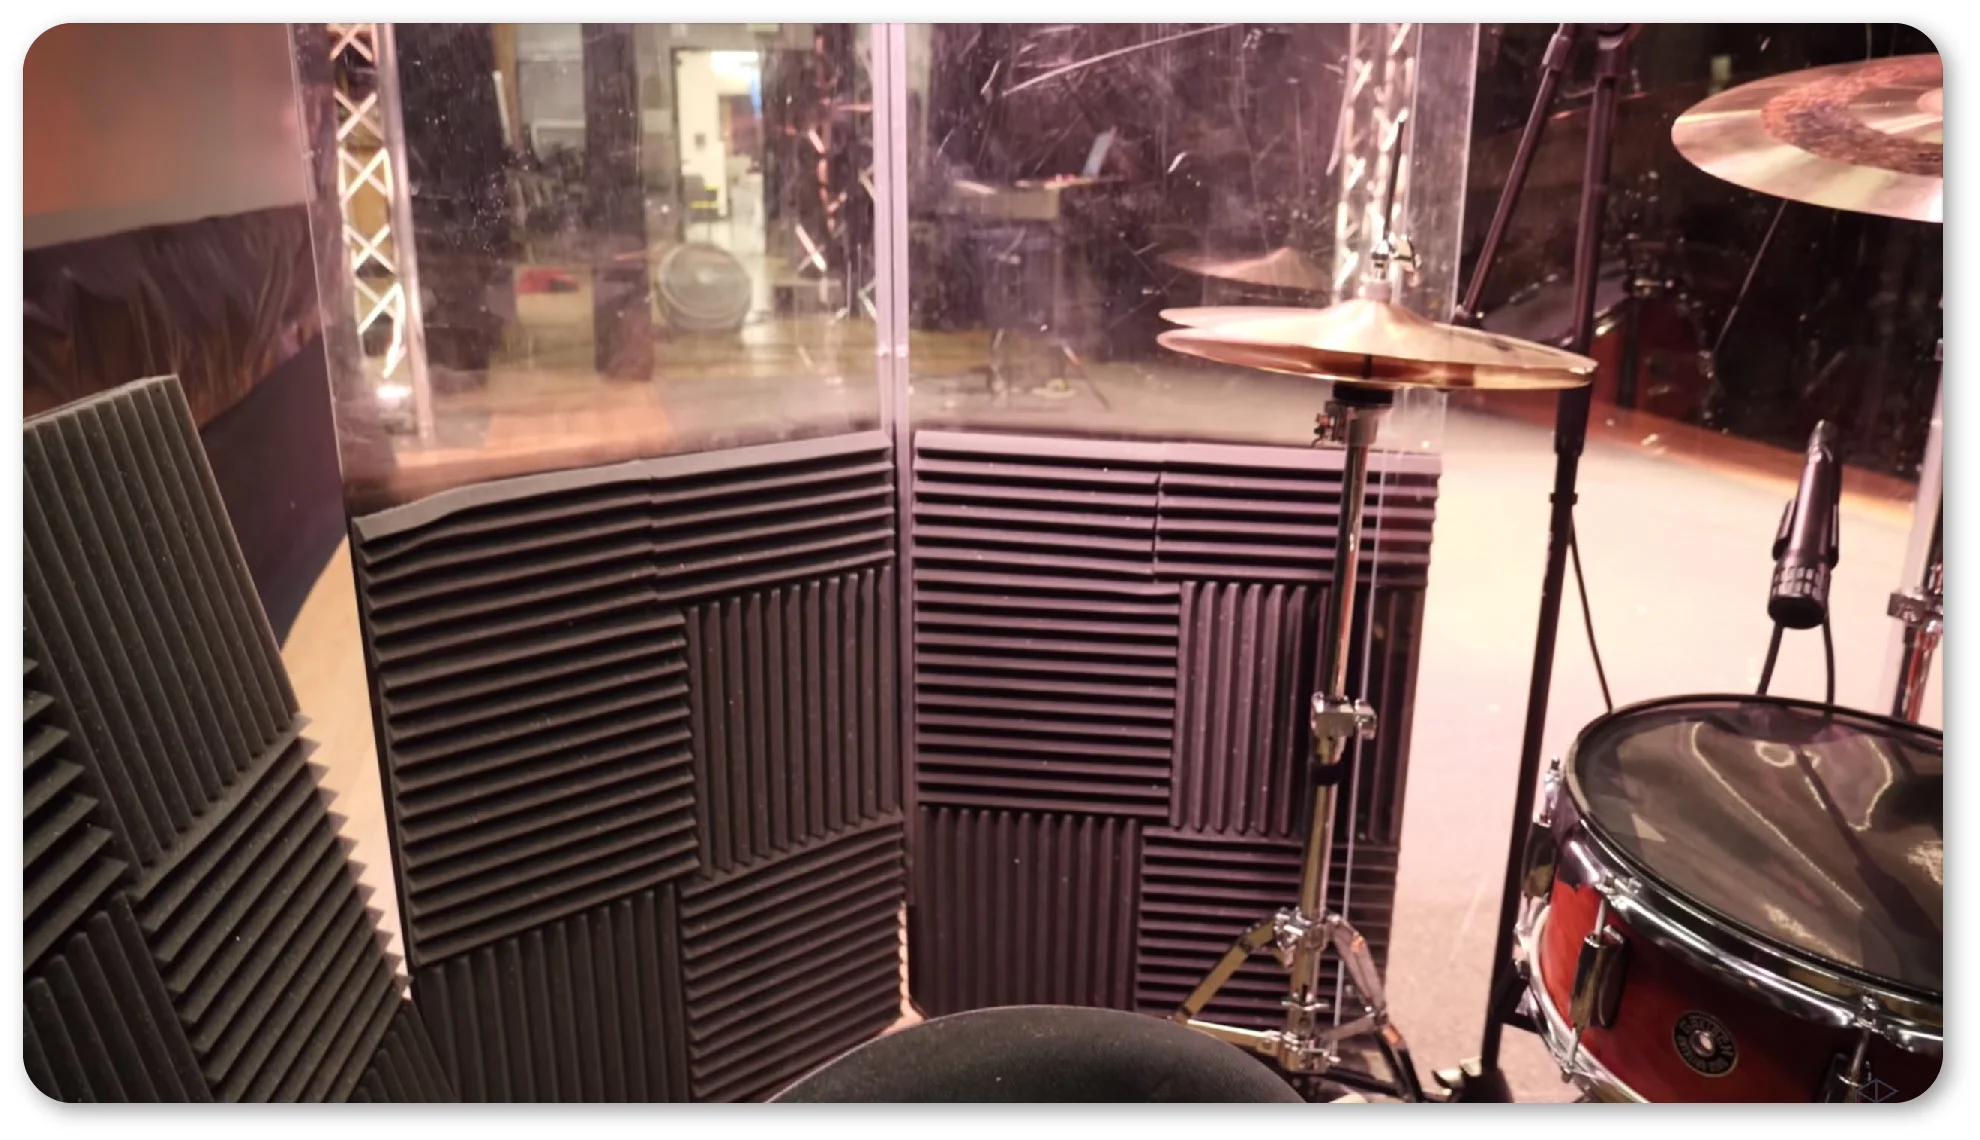
Acoustic panels
After you cut everything out, add some acoustic panels on the top of the lid to absorb more of the sound.
Use the adhesive spray to glue the acoustic panels (make sure it works on foam and wood so it doesn’t fall off on your drummer).

Back panel
The back panel is simpler than the lid. It’s around 3 ft. wide and 6 ft. long with the acoustic treatment on it, and it rests behind our drummer on one of our trusses.
It’s worth building this because the sound bounces off the front shield, back at the drummer, and then hits the wall behind your drummer, so you want to make sure you have some absorption there as well.

Bonus Piece
We wanted to create a complete enclosure from the drummer's left side facing the rest of the stage to contain as much of the noise as possible.

Outside
Inside
To do this, we did a two simple things
Connected two smaller panels to make another shield (just repeat the process for the main shield).
Glued some acoustic foam treatment on the inside of that,
Spray painted the back of it black,
Now we have this additional panel to reduce the amount of sound going onto our stage.
Complete!
And there you have it! This is our new booth that we use on Sundays.
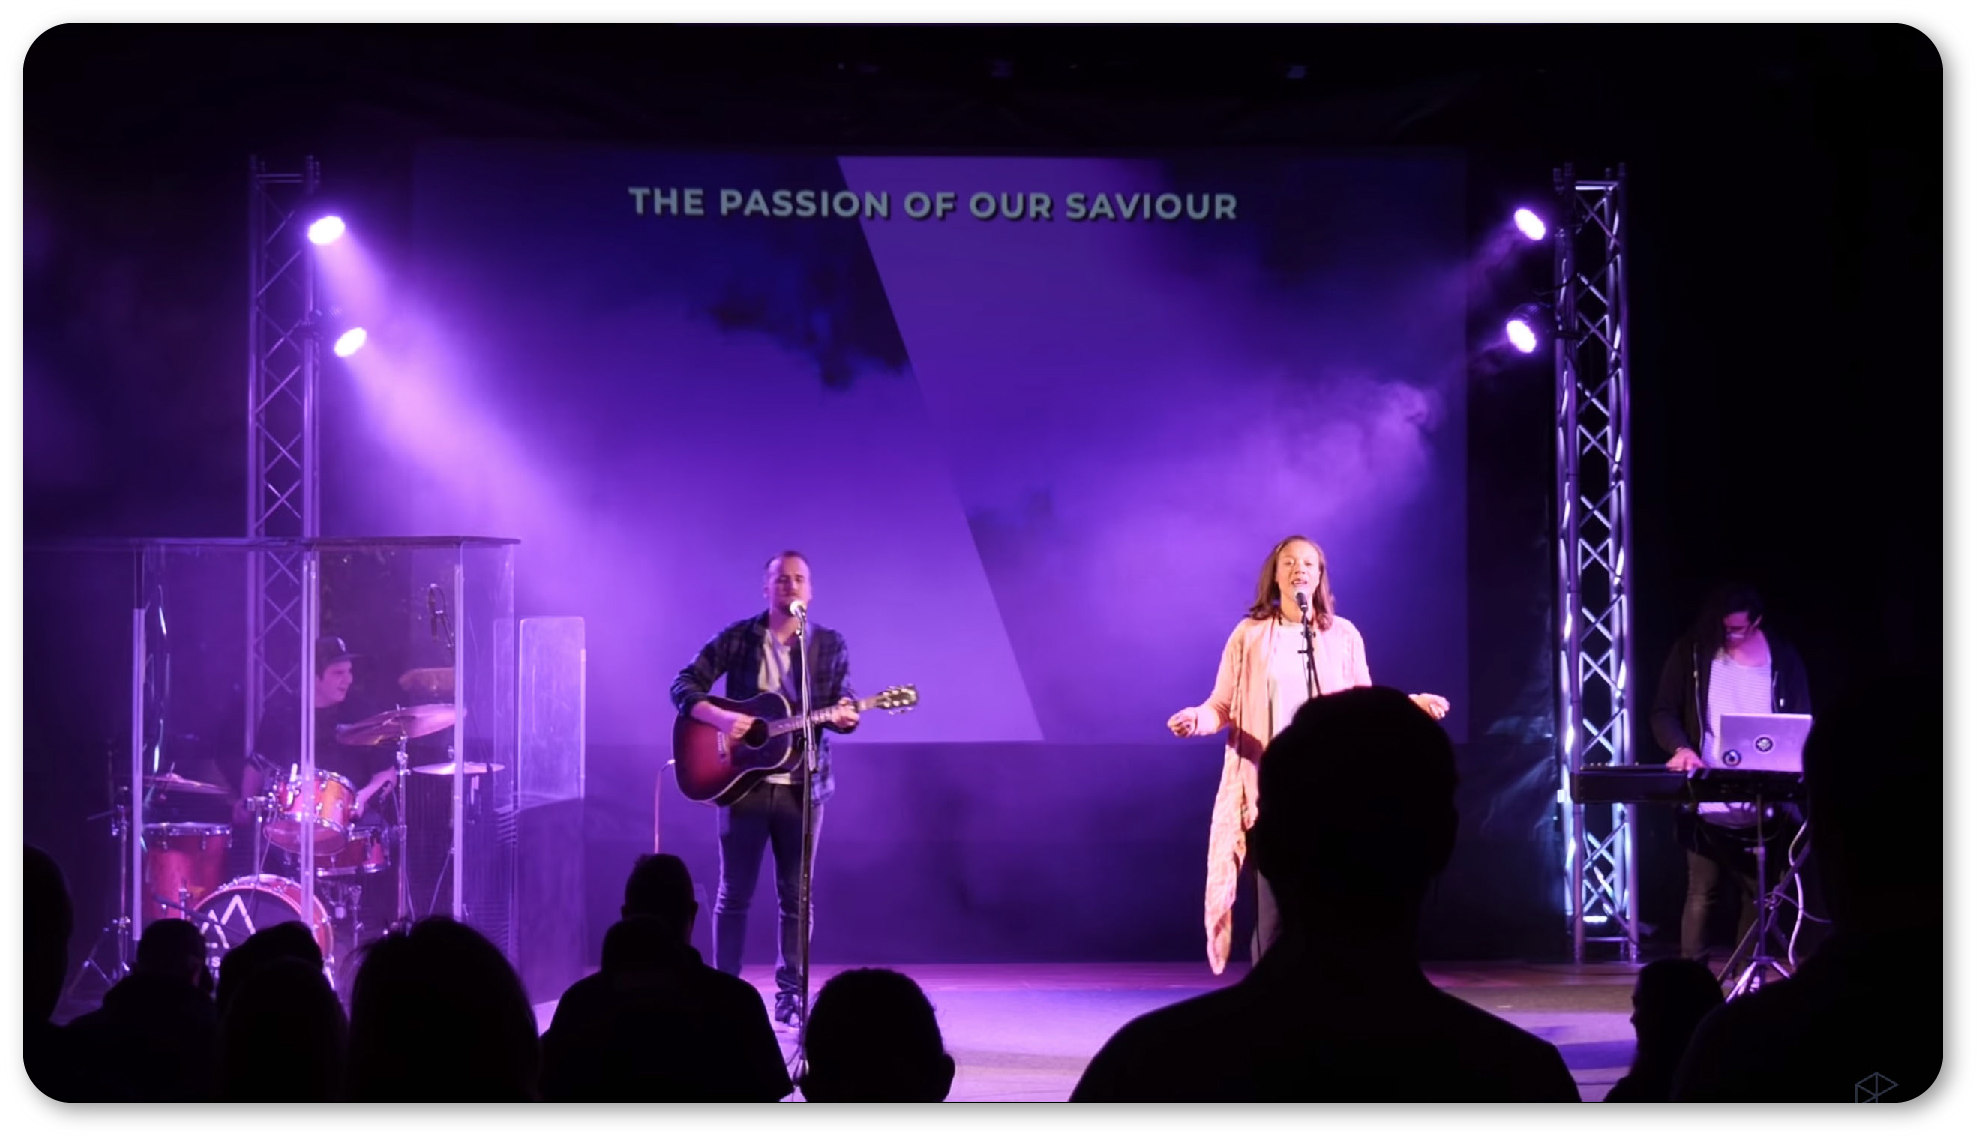
It’d be great to drop three grand on a pre-made booth with higher quality material that won't fall apart on us, but for the price that we paid, this workaround was totally worth it.
Plus, making small repairs to the booth here and there is not going to be that difficult, because it's so simple, and very few things can actually go wrong with it.
Our mix also sounds so much better. We're not having the drums bleed onto the stage and into the congregation. I can hear myself better as a singer, because I don't have the drums coming into my microphone.
Leave a comment here to let me know how this setup turns out for you. I’d love to hear about how you’re using it!
Finally, if you're a worship leader who needs more help and support as you plan and lead worship, go check out worshipleaderschool.com.
It's a membership site for worship leaders where you're going to find all the essential training, advice and support you need to plan and lead worship. We have online courses, we got a community forum, and you can actually receive real-time help from me in one of our weekly office hours sessions that I host. So go to worshipleaderschool.com to learn more.