

A guide to surviving Narita Airport after Japan’s re-opening
On 11 October, the moment we’ve all been waiting for finally arrived. Japan officially welcomed back visa-free, individual travel, and fully reopened its borders for inbound tourism to return. The gates are open, and all can go back to the way it used to be…
Well, almost. After having their borders closed to international travel for over two years, travelling to Japan has become a very different experience. Repeated changes to quarantine policy, closures and a downscaling of staff have left their mark on the tourism industry and even the most seasoned Japan travellers would find regular haunts such as Narita Airport (成田国際空港 Narita Kokusai Kūkō) to be an unfamiliar environment.
This article will guide you through the steps needed to navigate this strange new world, from the point of view of someone who has just recently returned from a trip via Narita Airport (NRT)!
Getting ready for the trip
Once upon a time (as a Singaporean), all I had to do to prepare for a trip to Japan was to plan my leave days, settle my reservations, make sure my passport was not expiring and I could fly off to the Land of the Rising Sun pretty much any time I wanted. Now, in addition to having a valid passport, I needed to have a vaccination certificate as proof that I had received three doses of a valid COVID-19 vaccine, as well as install an app on my phone to complete my pre-arrival procedures.

In addition to saving an offline copy of your certificate in your phone I’d recommend printing out a couple of hard copies, in the unfortunate case of your phone running low on battery mid-immigration. (Image credit: JR Times / Afiq)
For the vaccination certificate, I opted to retrieve mine from Notarise, as in addition to specifying my date of birth, my passport number, and names and locations of my three vaccinations, it also most essentially noted down the dates of when I had received my jabs, as this is an important detail the airport staff might check for. Notarise also sends a link of your online certificate directly to your email, making it convenient to access, download as a PDF file and print.
Fast Track Entry
Using Visit Japan Web is certainly a smoother experience than MySOS as I don’t need to constantly swap between an app and web browser as I fill in details. (Image credit: Visit Japan Web)
Prior to 1 November 2022, I would have had to download and install the MySOS application on my phone as well, as part of a requirement to enter Japan. However, there now exists an alternative to this procedure in Visit Japan Web, an online service for quarantine, immigration, and customs procedures for Japanese airports. Registering an account on this website eliminates the need for you to install additional clutter on your phone as it does all the same procedures entirely on a web-based platform. Visit Japan Web also comes with a comprehensive instruction manual on everything you need to do available in Japanese, English, Traditional and Simplified Chinese, and Korean.
One last pre-departure preparation…

When in Japan, do as the Japanese do (and mask up!) (Image credit: JR Times / Afiq)
Last but not least, I made sure to pack a surplus of surgical face masks into both my check-in luggage and carry-on. While there is no mask mandate that says everyone in the country must wear a face mask, the overwhelming majority of the population wears masks in public at all times except when eating or drinking, and it would feel really awkward to be the only one outside without a mask on. In addition, there remain plenty of shops, restaurants and other establishments that conduct temperature checks and host signs outright refusing service to anyone not wearing masks, so be sure to always have a couple on hand and to see a doctor if you feel unwell during your trip!
Arriving at Narita Airport

These decals of characters from the Mario franchise have been welcoming travellers from Narita Airport since 2019. (Image credit: JR Times / Afiq)
Upon your arrival at Narita Airport, all may appear as it was over two years ago, with gracious airline staff bowing as they welcome you to Japan and the smiling faces of Nintendo characters greeting you as you ride down the arrival escalators. Before long, however, you’ll soon arrive at the Quarantine Zone, a tightly-cordoned area full of desks, signages, and staff members reminding you to have your quarantine QR codes ready. These QR codes are only available to you after you’ve completed all procedures in the MySOS application or on Visit Japan Web, so once again here is a reminder to get your documents settled before boarding your flight!
Quarantine > Immigration > Customs

You won’t get the chance to use the restroom until you’ve cleared all of this, so settle your business in the place before you disembark! (Image credit: Visit Japan Web)
No need to fret if you have your QR code ready, however, as making it past each zone of Narita Airport is simply a matter of moving from staff member to staff member a few times as you let them scan your phone and direct you to the next area. In the Quarantine Zone, as long as you’re able to show every staff member a completed screen with the QR code, you should be able to make it to Immigration with no fuss.
Once you have arrived at Immigration, you’ll need to have your passport in addition to your immigration QR code ready. At this juncture, as Japan has only very recently fully re-opened to free and independent travel, you should very well expect the immigration counters to have fewer staff on hand as compared to the pre-pandemic era, as Japanese airports struggle to meet the sudden surge and return of foreigners. I personally had a fairly tame experience as my flight was apparently the only one arriving at Terminal 1 during that time, so I made it past the immigration queue after less than 10 minutes of waiting.
On to Tokyo!

A post-it board inside Narita Airport’s JR EAST Travel Service Center filling up with the wishes of newly-arrived travellers. Stick one on when you arrive next to complete Fuji-san! (Image credit: JR Times / Afiq)
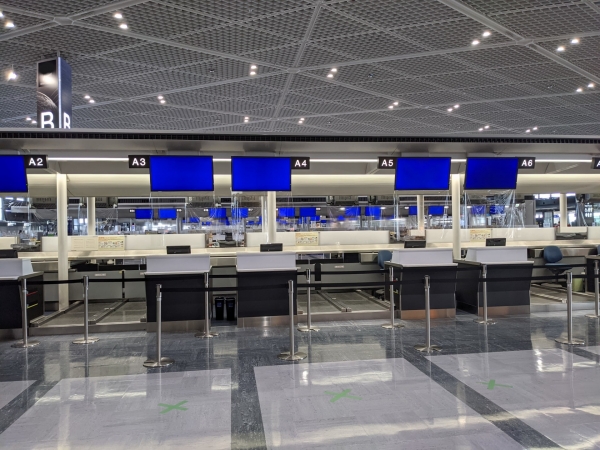
Once you’ve made it past that, all you need to do is take the escalator down to customs and find the baggage claim to your flight, grab your stuff and you’re home free! As of the time of writing of this article, many of the counters and shops in the arrivals area of Terminal 1 remain closed for business, so if you have a trip coming up very soon I’d highly recommend you get your travel SIM cards or mobile WiFis before leaving for Japan.
Hopefully, this guide has given you a good idea of what to expect when you make your triumphant return to Narita Airport! Need some ideas on what to do next? If you plan on taking the Narita Express (N’EX) to make your way over to Tokyo, why not cover the cost of your train using the JR TOKYO Wide Pass, and then plan a day trip out of the city within the next couple of days?
Writer’s note: The above is based on arriving via Narita Airport Terminal 1, and that experiences from arriving via other terminals may differ. Information presented is accurate as of 4 November.
Header image credit: photoAC
Related Articles


