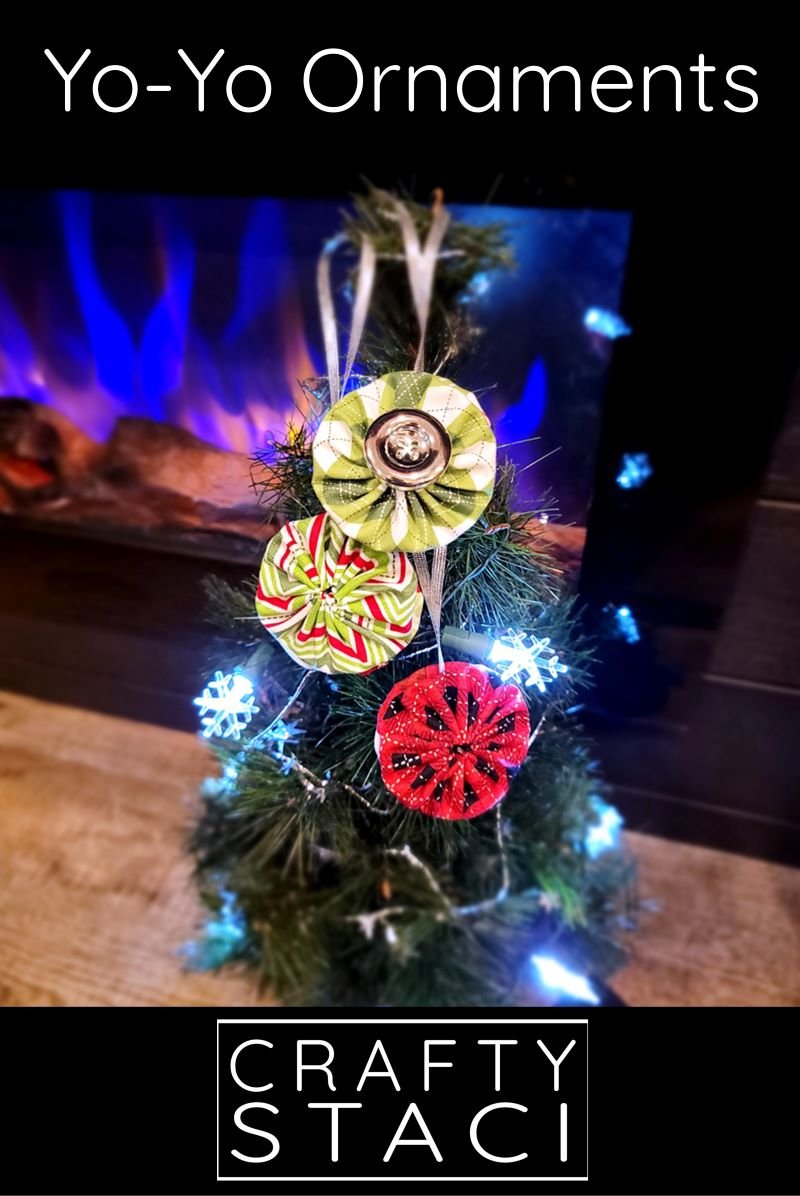
I’m here today to share the second of what my husband has dubbed “camper crafts.” If you missed the first, check out my Pentagon Star Ornaments. These yo yo ornaments were just as fun to make, but even faster. I think these would make great little gift toppers!
You know those things you stick in your online shopping cart, then push them into “Save for later”? The tool I used to make these ornaments sat in cart-limbo for months, before I finally decided to give it a try. I’m so glad I did, because it made these really fun, easy, and consistent!
This post contains affiliate links. For my full disclosure policy click here.

You could, of course, make the yo yos without this tool. It makes a nice big 2 3/8” which was perfect for the ornament, so I’d aim for a similar size if you go that route.
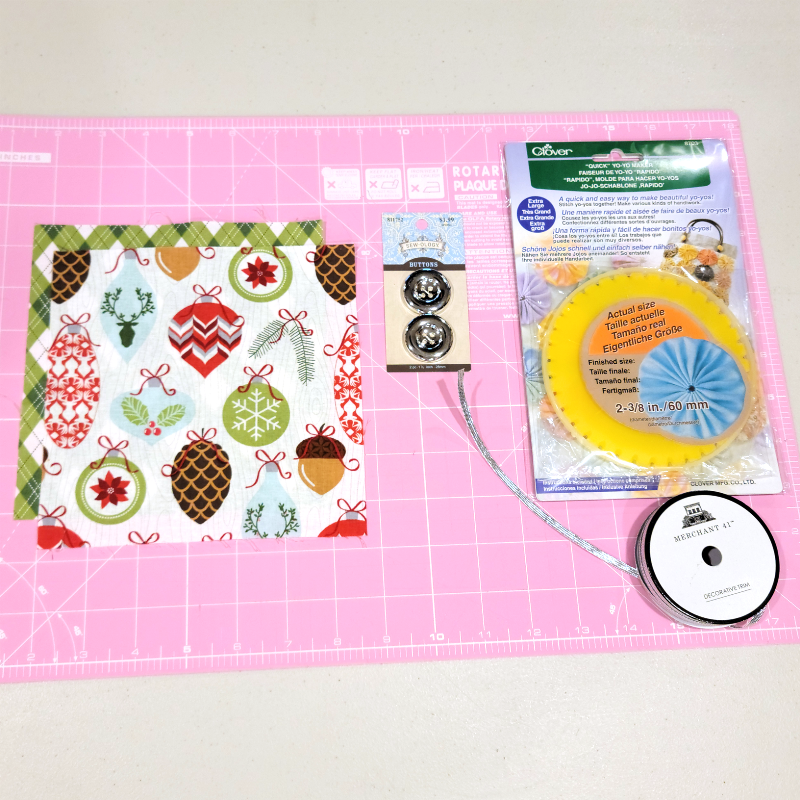
To make one yo yo ornament you’ll need:
Two 6 - 6 1/2” squares of cotton fabric (different prints if desired)
12” of 1/4” wide ribbon
two 1” buttons (optional - I actually ended up preferring mine without)
Following the package directions, place the yo yo maker disk against the wrong side of the fabric, paying attention to the instructions for which side of the maker disk should be face up.
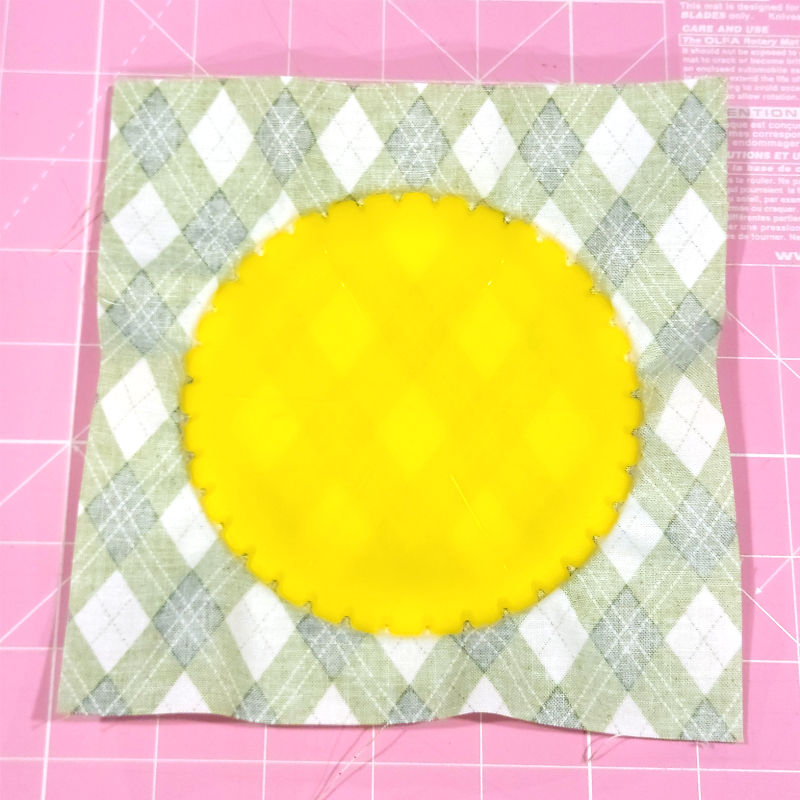
Insert the disk into the plate. The instructions recommend trimming the fabric to 1/8 - 3/16” from the edge. I suggest using the slightly larger number.
Start stitching by folding that allowance in, then stitching by pushing the needle down through the disk and plate.
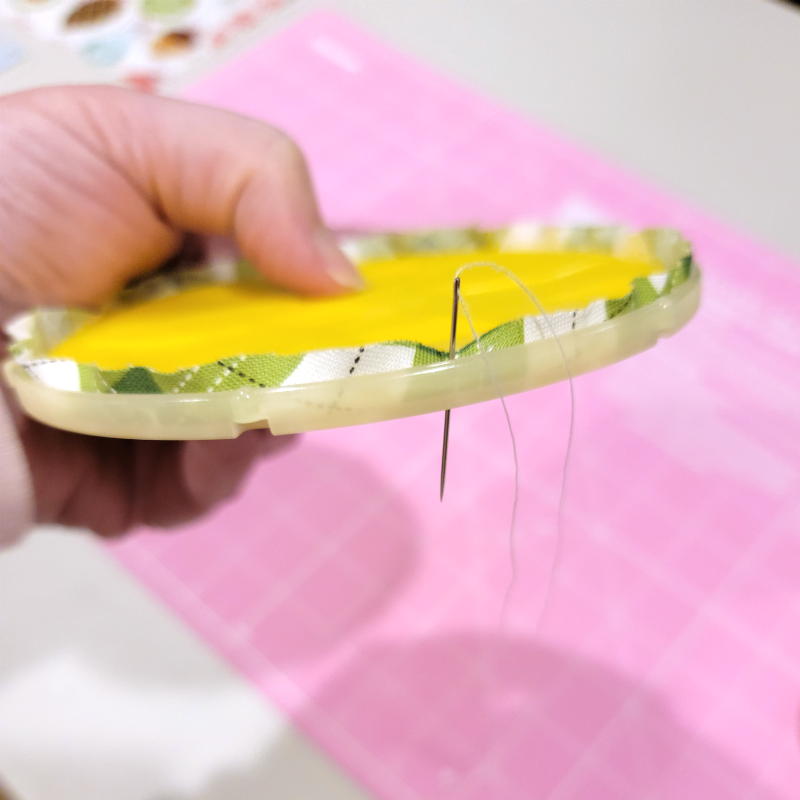
The next step is important. You need to stitch back up through the same curved hole you stitched down into. Look at the fingernail shaped holes on the plate and that will make sense. Whatever direction you have to go in to stay on track, continue in that direction as you sew around the disk.
Be sure to catch and fold over the raw edge with each stitch. Also, make sure you start with enough thread to make it all the way around the circle. It’s kind of a bummer to figure out halfway that you didn’t. 😉 On my second try, I went with 55” of thread, doubled. Be sure to knot the two ends together before beginning.
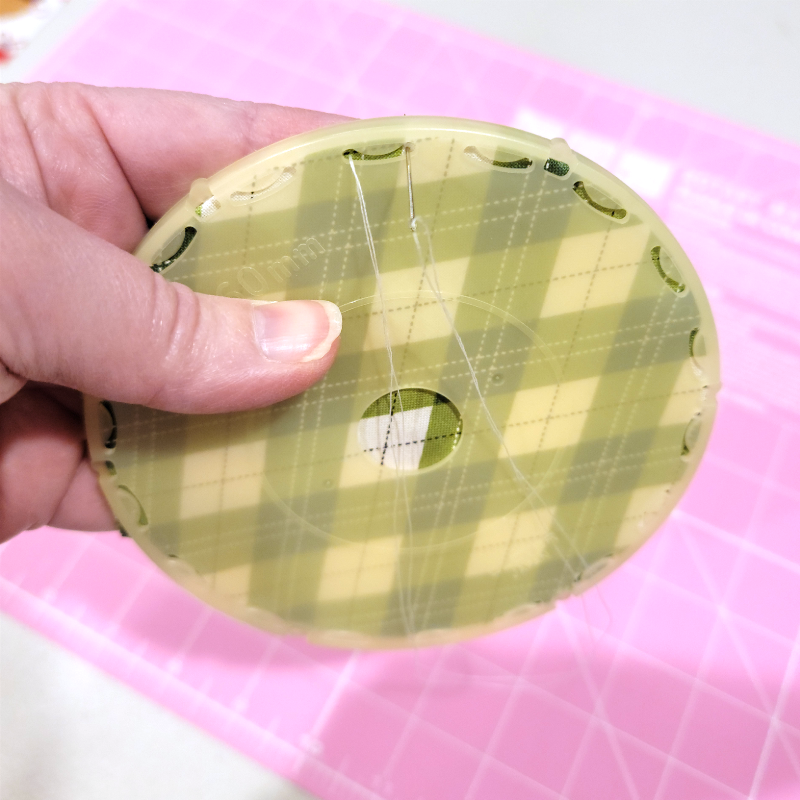
Continue stitching until you reach where you started. Stitch through the first hole a second time. Do not knot or cut your thread.
Remove the plate.
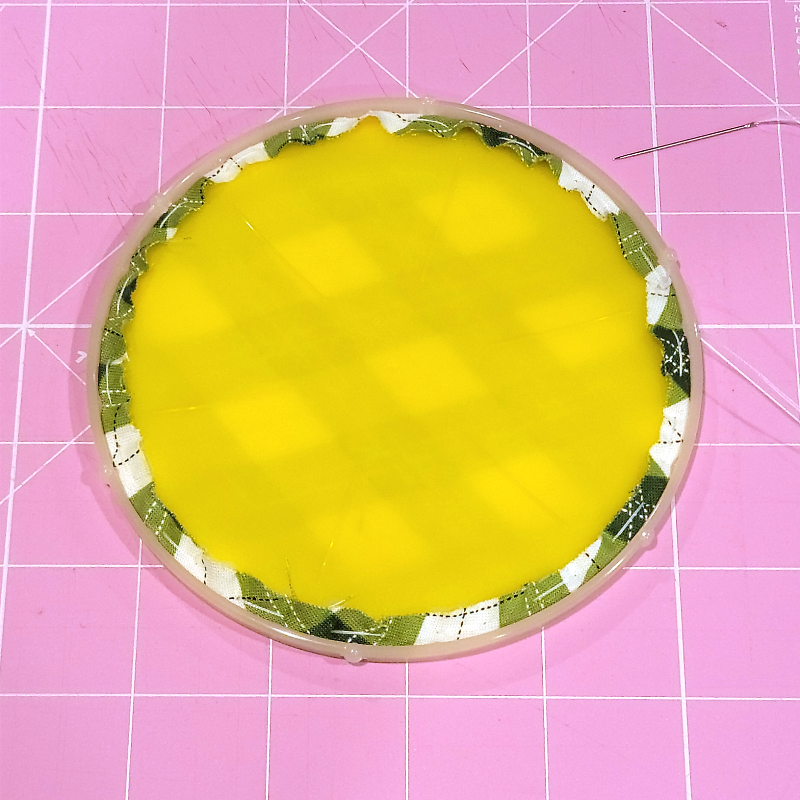
Push the edge of the fabric off the disk with your thumb to remove.
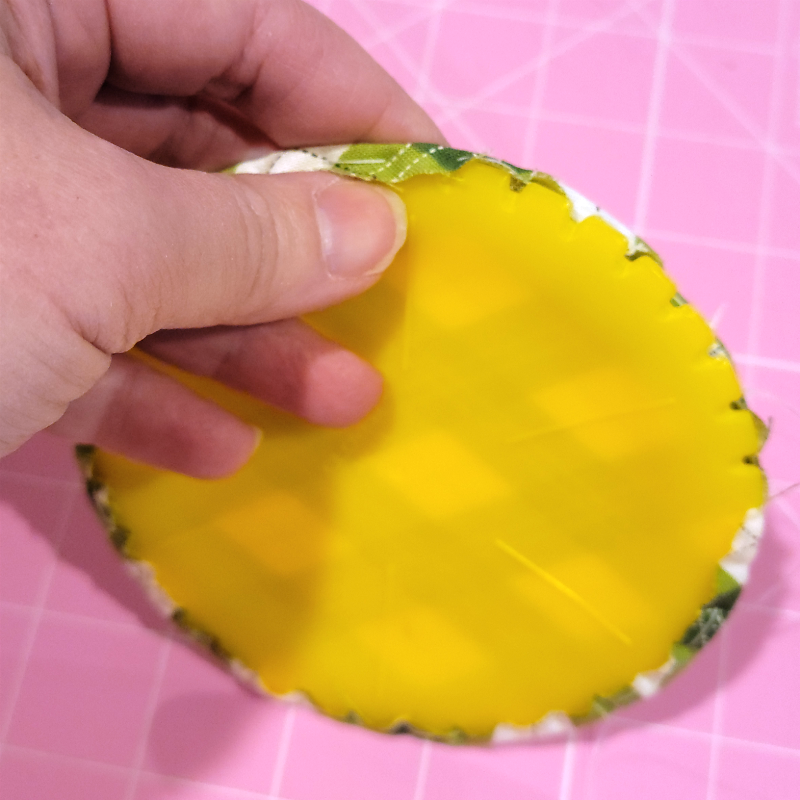
Pull the thread to gather the yo yo. Push the gathers around until they’re even and the hole is centered.

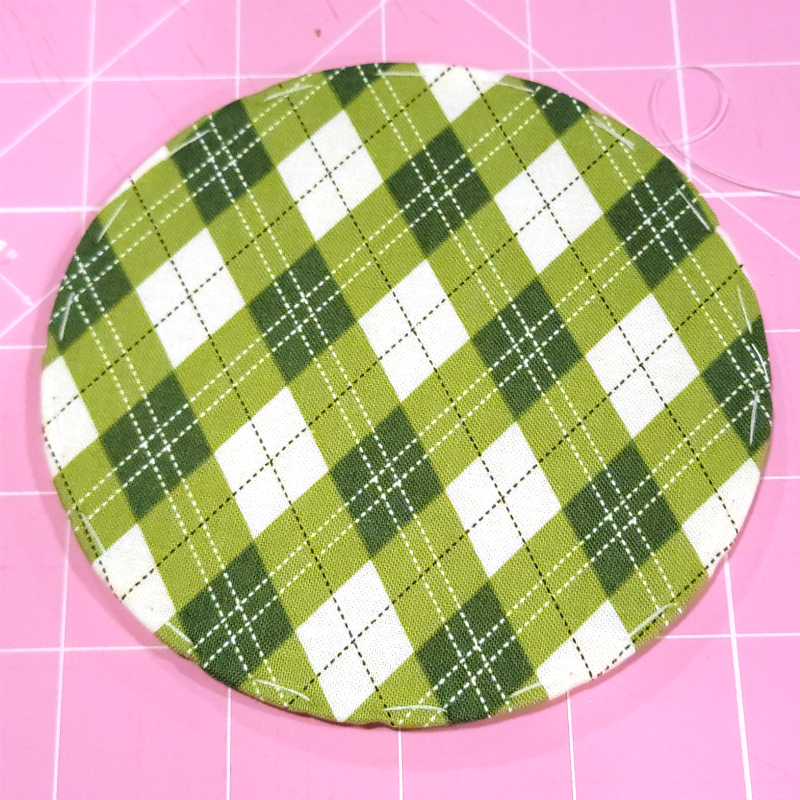
Knot the thread and trim.

Repeat the process with the second fabric square. Because most of the thread was cut off the first, I was able to reuse it for this one.

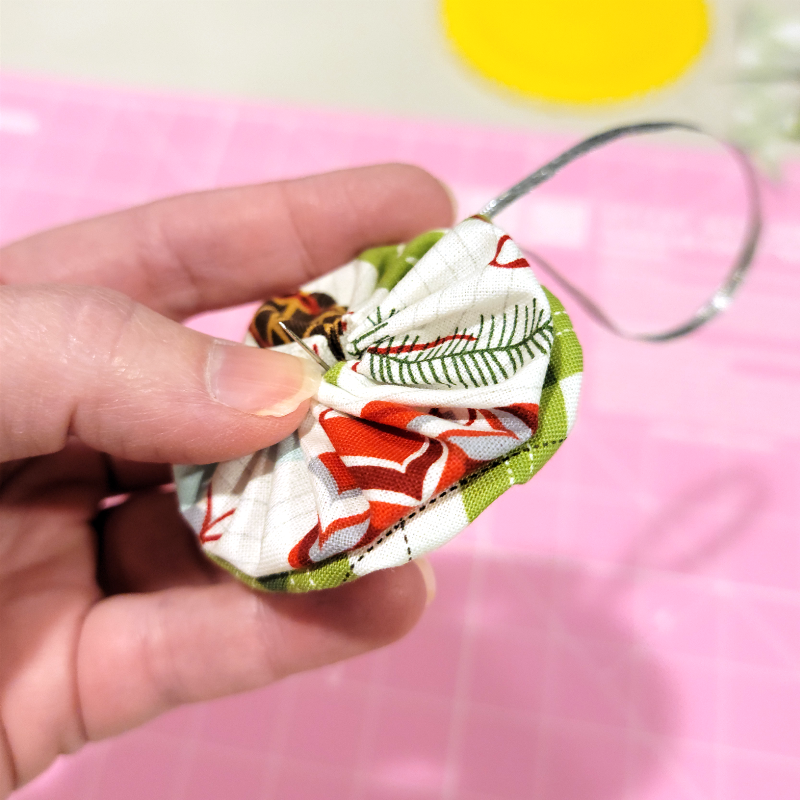
Fold the ribbon in half. Place the raw ends on the back of one yo yo, so they won’t stick out the bottom. Stitch in place through the center.

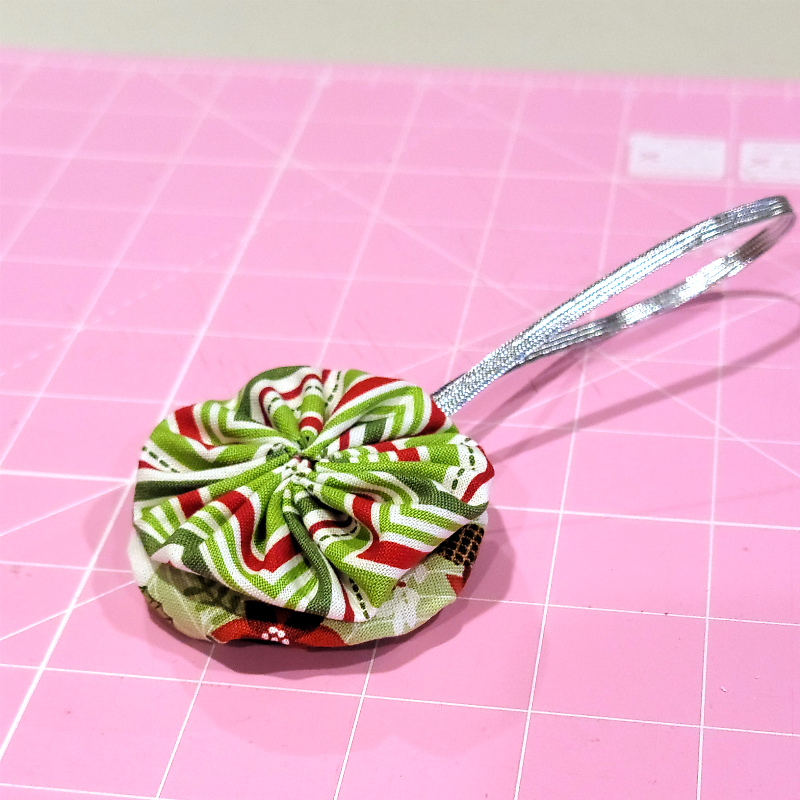
Push the needle out the gathered side and leave it. Place the second yo yo on the first, with the flat sides together. Using the needle from stitching the ribbon, sew through the center of both yo yos to attach.
If you’re leaving yours without a button, you can knot the thread and clip it at this point.
If you’d prefer to add buttons, sew those on each side with the thread before knotting and clipping it.
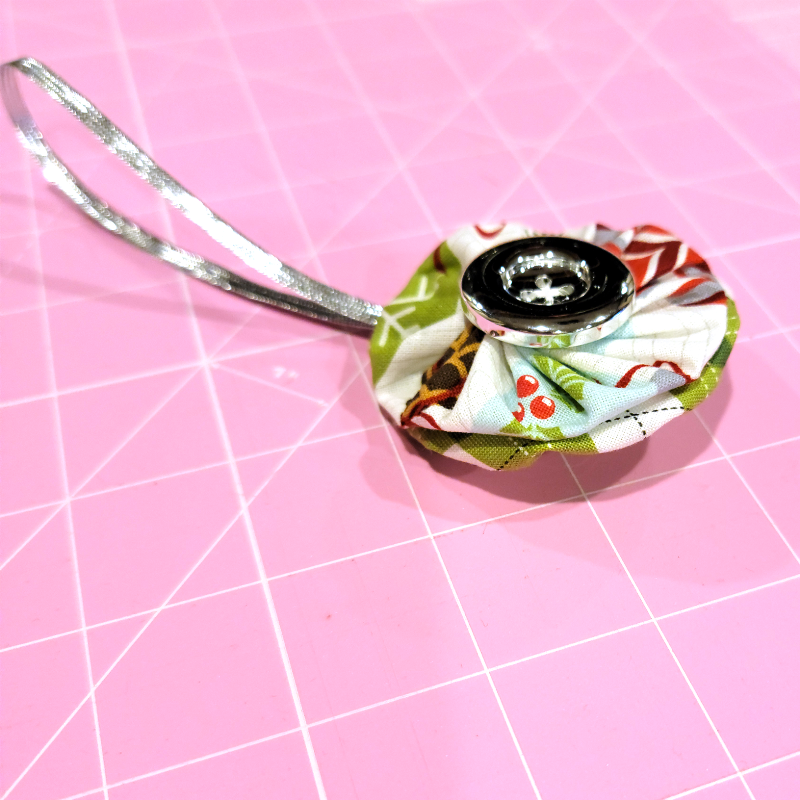
To be honest, I’ve never really understood the draw of yo yo quilts, but now I think I get it. These are so fun to make, and are great for scraps. I’m not saying I’m ready to take on anything that big, but I’ll definitely make more of these little ornaments!

