
Here's how to properly wear a Yukata, a Japanese summer essential
BY JENNA PHILLIPS / JCCCW GANBARU INTERN
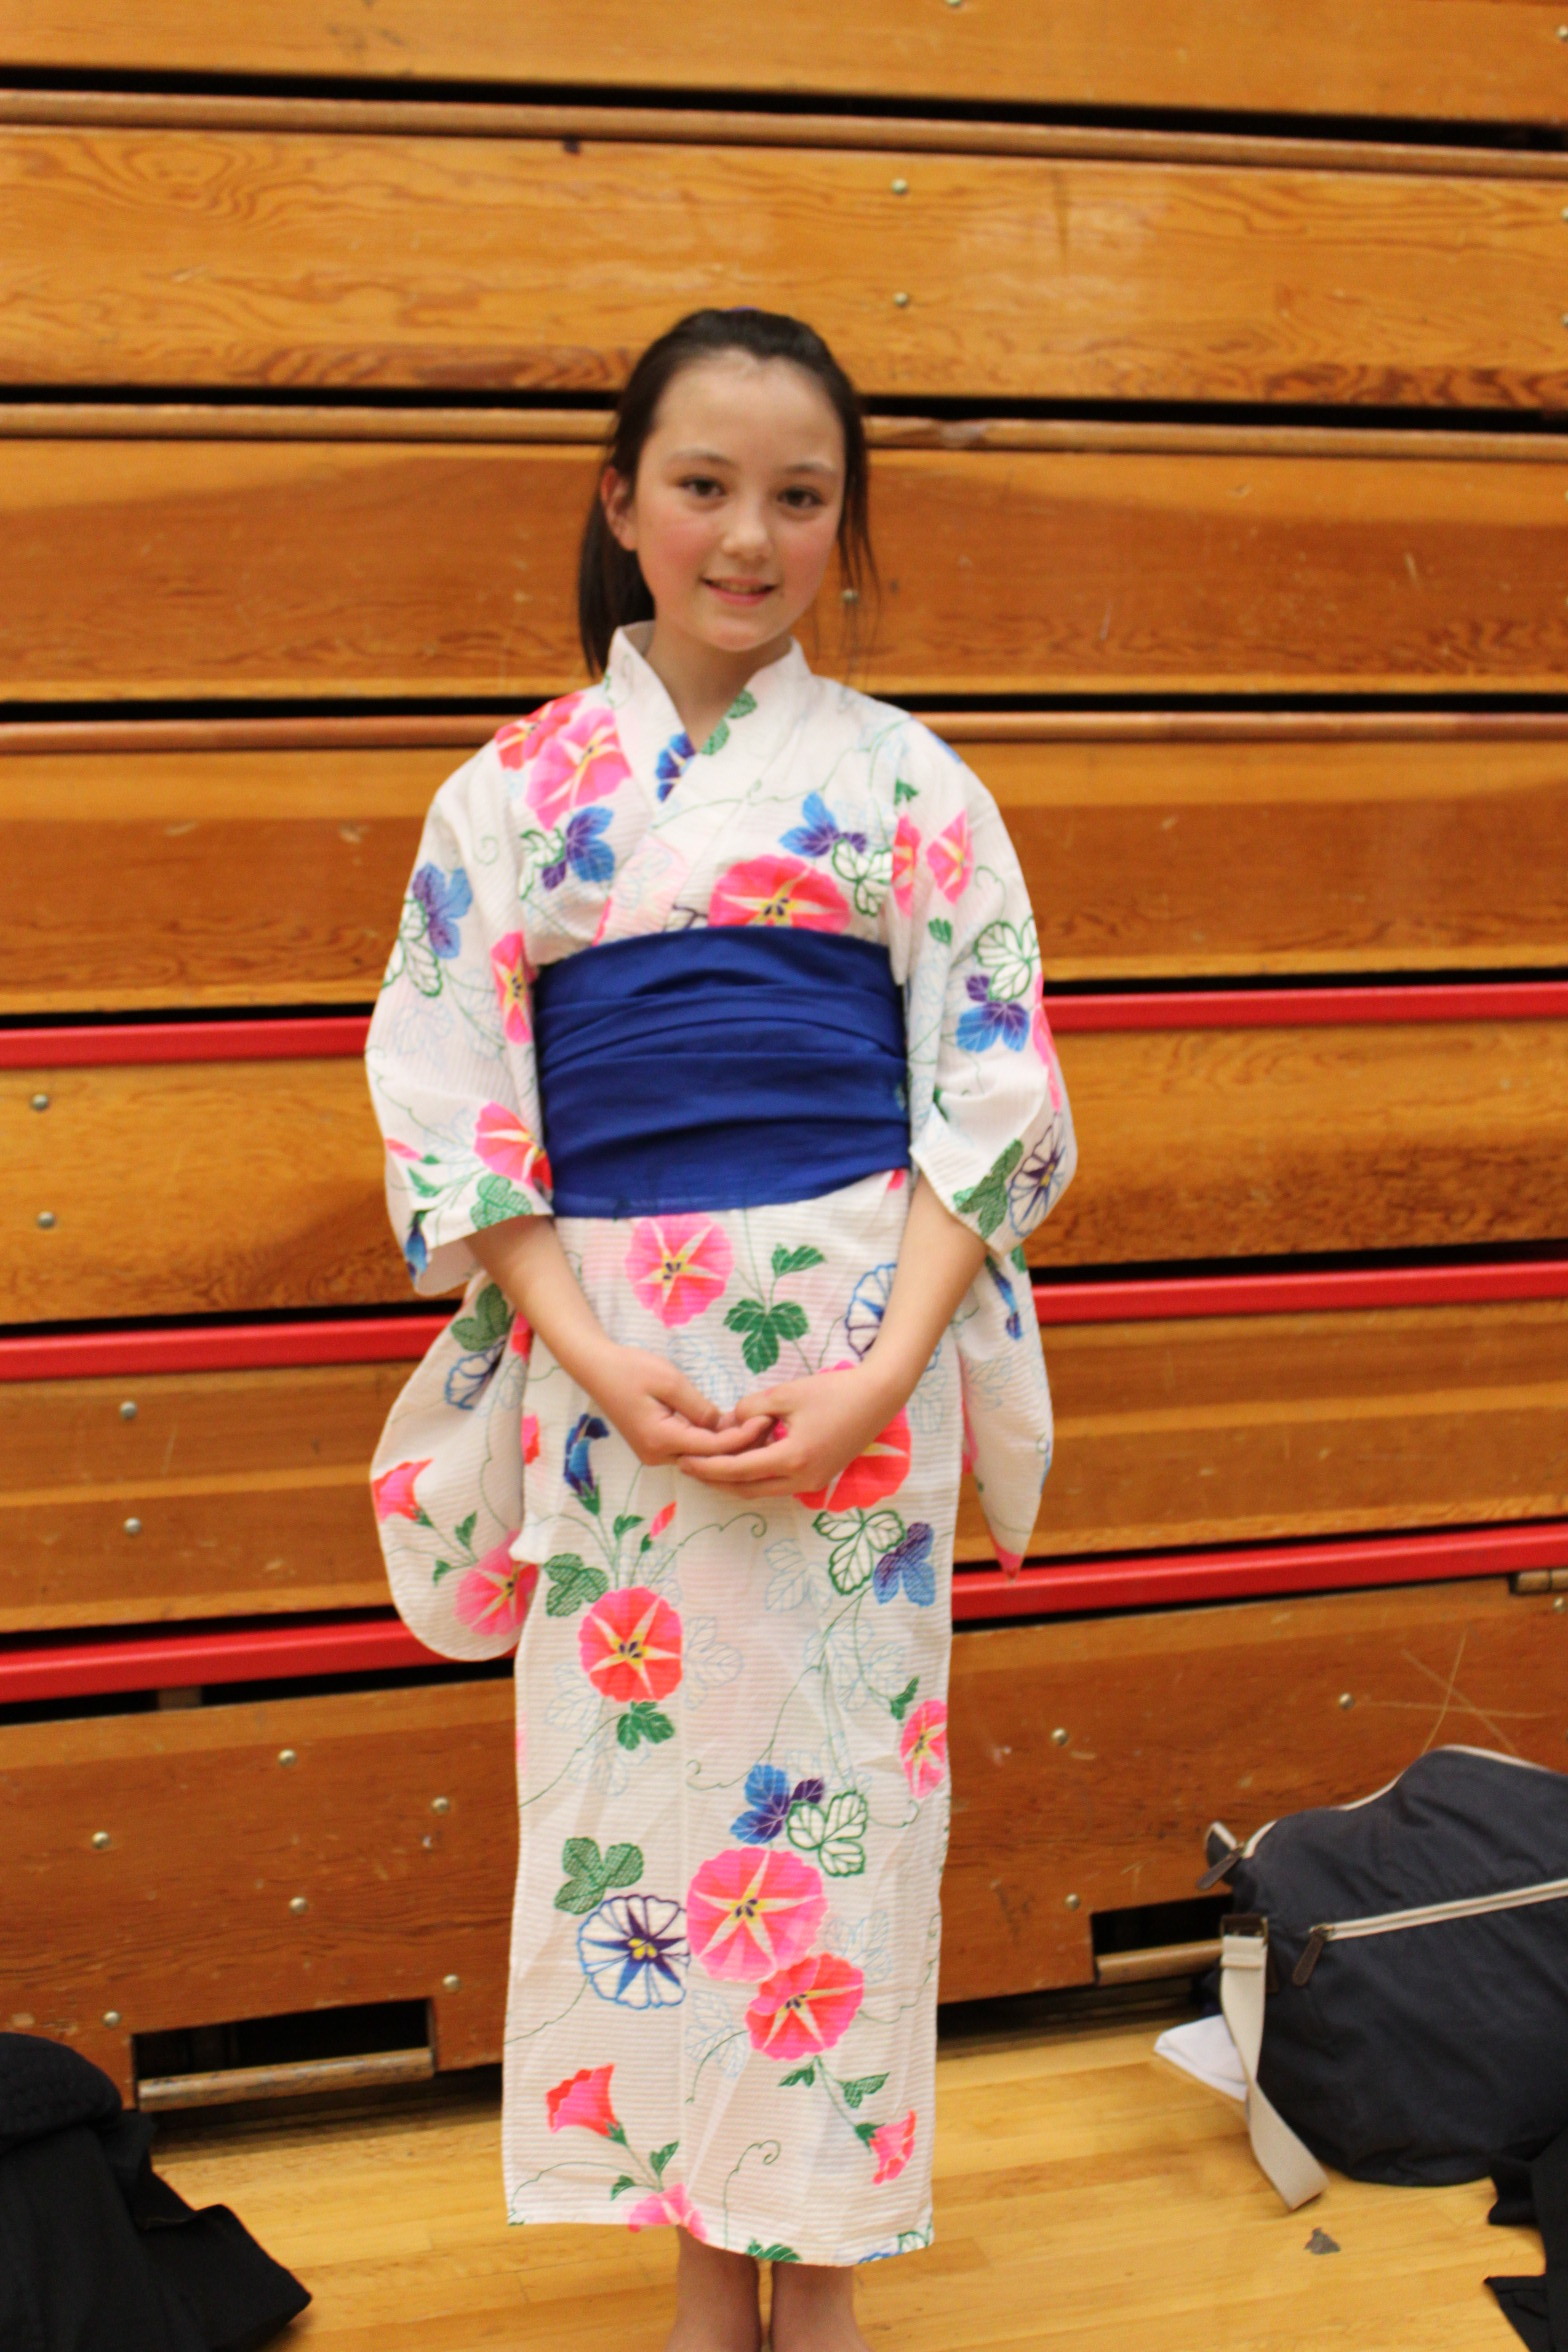
Jenna Phillips at age 9 wearing a yukata at a Japanese festival.
In the summer of 2016, I was given the wonderful opportunity to visit Japan through an exchange program at my high school. My friend, Kelly, and I stayed in Kamakura with a host family and we traveled to Tokyo, Kyoto, and Izu. I was having the time of my life, diving head first into Japanese culture; trying new foods, learning small phrases, and admiring the beauty of the country.
While in Izu, we stayed at a hotel that provided yukatas for their guests. My friend and I, both from the U.S., were excited to try them on, but when we got back to the room we had no idea how to wear them correctly. With limited access to technology and no idea which room our host family stayed in, we were left to our own devices. Well, it’s just like a robe, I naively thought, so we threw them on, swiftly wrapped them around our waists, gave each other a nod, and walked out the door to head to dinner.
As we exited the door our host family was just leaving their room, too. They turned to see the mess of the yukatas we had made. I saw their faces turn from wide eyes, inspecting our work from top to bottom, to laughter as they said, “Oh no, you look like your have died!” Completely confused, Kelly and I looked at each other checking our skin tones, our eyes. “Right over left means you are dead,” they pointed at our yukatas. Our host sister, Mito, quickly ran over and adjusted the wrap of our yukatas to left over right. “You are back to life!” she said.
Well, if you are as clueless as I was throughout that experience, or if you need a little refresher, then this blog post is just for you!
Japanese summer festivals are well underway as we have reached the peak heat of the summer. Seattle’s humidity has set in and the sun is shining. You know what this means; time to pull out your yukata!
What are yukatas?
A yukata is often referred to as a summer kimono, most commonly made of cotton. It is much lighter than a kimono and does not require any layers underneath (wearing your undergarments is highly recommended though!), making it the perfect piece to wear on a hot summer’s day.
Where did yukatas come from?
The yukata was originally used as house loungewear, or a bathrobe that many people wore to the public bath, or the Onsen. The direct translation of yukata is actually “bathing clothes,” albeit, the function of the yukata has now shifted to a summer garment and is often worn to festivals or other social events.
What do you wear with a yukata?
Traditionally, people would wear geta, or sandals, with their yukata, but nowadays you will find many people (especially the younger generations) wearing just about any type of sandal or shoe (as you can see in the video our model wore sneakers). Many people will also wear hair ornaments known as a kanzashi. They were originally worn because many believed the point of the stick on the kanzashi would keep the devil away. Now they are mostly just worn as an accessory. You can also use a wagasa (Japanese umbrella) or sensu (folding fan) and uchiwa (fans) to further accessorize your outfit.
Pro Tips:
Always fold yukata left over right (Right over left is used to dress people who have died).
Always keep your collar and seam closed. It is considered indecent to show what is underneath.
Keep your strides short when you walk. This will keep your yukata from falling apart and it will make it easier to keep your getas on.
Older people will usually wear more plain, dull, or mature colors and patterns while younger generations wear bright, colorful, more bold patterns. Except men who generally stick to solid darker colors. Traditionally this was to help showcase younger women with eye-catching patterns and colors to possible suitors.
How do you put on a Yukata?
Grab the end of the collar and while spreading your hands, lift the yukata. Make sure the hemline is at your ankles.
Fold in the right hand side. Then left side over the top. Try and make sure the left side wraps all the way around most of your right leg.
Wrap the string around your waist starting from the front. Cross them in the back, wrap them back around to the front, and tie. Tuck in any extra string!
Pull out extra fabric (make sure to keep the length of the hem at the ankles).
Straighten collar. Using the same technique, wrap a second string around the bottom of your chest, tie, and tuck in any extra string. Smooth out any wrinkles.
(Optional) Tie an additional belt over the top of the strings. This serves as an extra stabilizer so the collar does not come out of place.
Grab Obi. Take about two feet of one end and fold it in half (hot dog style). Then, place the folded side over your shoulder (This will be used later to wrap around the middle of your bow).
Wrap around your waste 2 times and tie it tight (very important!). Tighten once more.
Take bottom part of obi and measure the width of your shoulders.
Take the part you just measured and fold it in 3 times.
Make 3 folds in the folded obi to create the shape of the bow.
Wrap the other end of the obi around the middle of your bow twice. Fold up the excess and tuck it in the obi.
Fix the shape of the bow. Pull the obi around to the back in a clockwise direction (so it doesn’t mess up the collar).
And now you’re done!
*There are of course other techniques to wear a Yukata but this is considered one of the basic traditional ways. There are also different tying techniques for the obi, however, the simple bow is the easiest and most common way to wear it.